A raised garden bed is one that sits above the ground within a frame, usually made of wood. They are easy to build and are great for many reasons. Not only do they look nice and will make you garden space look more organized, but they especially good is you have poor soil. A raised bed keeps plants out of the way of pets, and can help keep critters, such as rabbits away. Because the soil in the bed will be loose and crumbly, the plants will be able to send their roots deeper which makes plants healthier. The soil of the bed will warm sooner in the season which increases your growing period and your yield will increase because you can space plants more efficiently.
Where should I place my raised garden bed?
Before you start building it is best to find the proper location in your yard. You will want the bed to be in a location that receives at least 6 hours of direct sun, but more will be better especially if you will be growing vegetables. Be sure the area is flat and level. Beds are generally made in the shape of a rectangle and should be placed so longer end runs north-south. This will prevent plants from shading each other. Alternatively, if you are unable to orient your bed north-south make sure your rows of plants are. Make your bed at least 10 inches deep to promote healthy roots and if you are building more than one bed space them at least 2 feet apart to allow access with a wheel barrow. The bed should be no more than 4 feet wide so that weeding is not a hassle. The ideal length of the bed is between 6 and 8 feet.
Which soil for raised garden beds should I use?
If you live in an area with poor soil a raised bed is an excellent solution. You can, of course, amend your poor soil, but filling your bed with good quality top soil may be easier. Use soil that is dark, rich, and crumbly. You’ll want to mix in compost that is well-aged and completely broken down. If your top soil has high levels of clay you made need to also mix in sand or perlite to help aerate the soil. Use a ratio of about 60% top soil and 40% compost. Add compost seasonally to improve the health of the soil. You may want to consider testing your soil for pH and nutrition to see if you need to make additional amendments.
How often do I need to water?
The frequency of watering will depend on what you plant. Raised beds drain really well which is great for plants. They do dry out faster than in the ground. For most flowers and vegetables water when the top inch of soil is dry. Don’t water more often than that; it will encourage the plant to grow shallow roots.
What wood for raised garden bed should I use?
Never use pressure-treated wood for garden use. It may seem like the best option for outdoor use, but these contain chemicals that can leach into your soil and are unhealthy for the plants as well as consumption. Instead use wood that is naturally resistant to rot and weather, such as oak, redwood, and cedar.
What do I need?
To build a garden bed that is 4 feet wide, 8 feet long, and 18 inches deep you will need the following tools and supplies:
Tools
- Drill
- Table saw or circular saw
- Square
- Tape measure
- Post-hole digger (a shovel will work)
Materials
- 48 deck screws measuring 2 ½ inches
- 18 deck screws measuring 1 ¾ inches
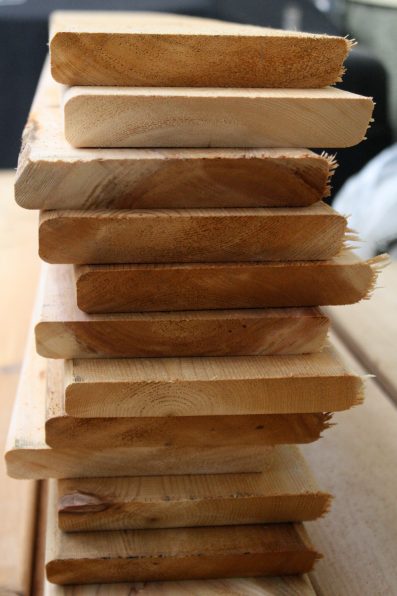
- 10 decking boards measuring 8 feet long, 6 inches wide
- 1 post measuring 8 feet long, 4 inches wide, 4 inches deep
- Hardware cloth
How do I build it?
- Using a circular or table saw cut three of the deck boards in half so you have 6 boards measuring 4 feet long in addition to the 6 8-foot boards.
- Cut the post into 4 sections measure 2-feet each.
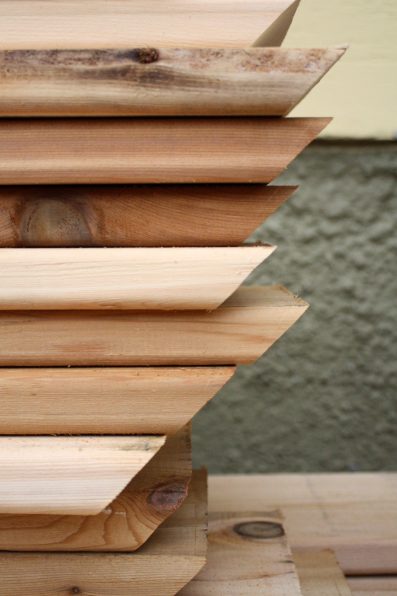
- Miter the ends of each board.
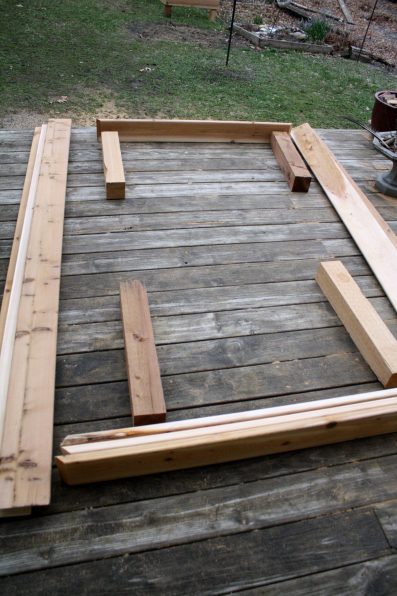
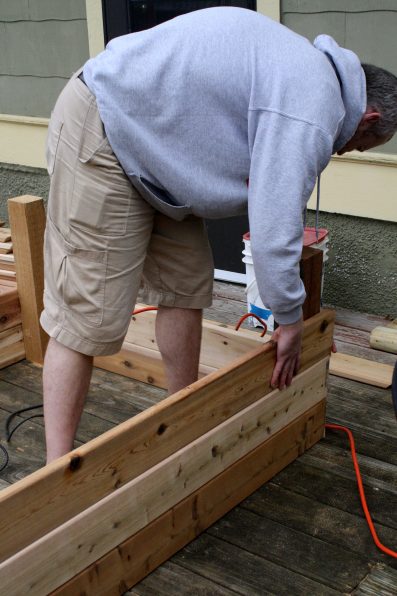
- Find a large flat surface to build on.
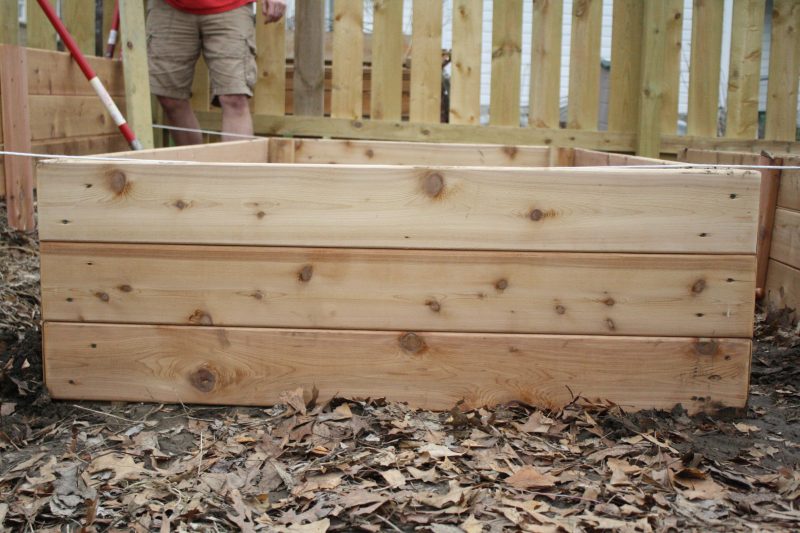
- Lay out the boards and posts in a rectangular shape so the 4 posts are in the corner and three boards per side. You will be building the garden bed upside down.
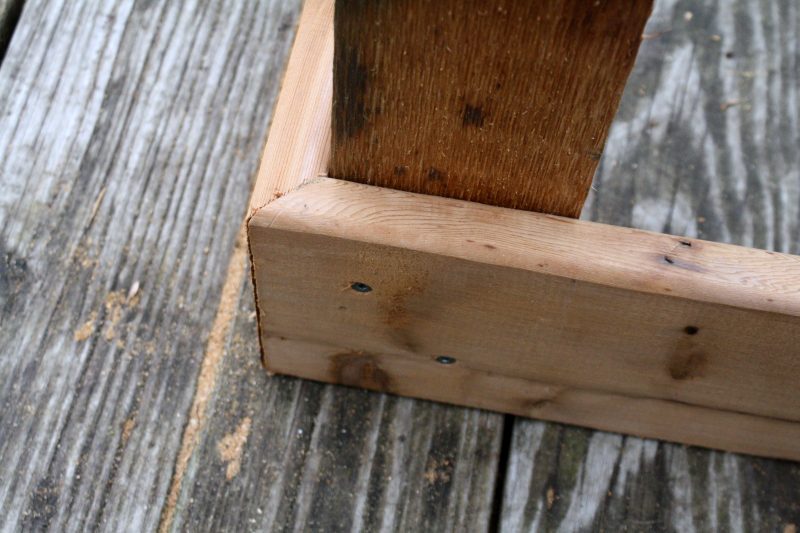
- Begin attaching the boards to the posts starting in one corner. The mitered edges should meet in the corner. Use two screws per board and make sure everything is square. Repeat with each corner until the first row of boards is attached to the posts.
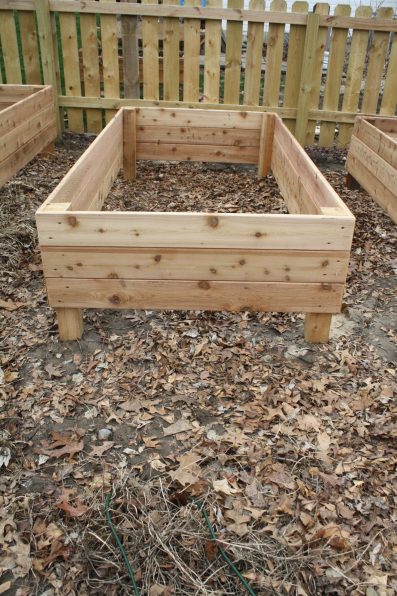
- Add the second and third row of boards above the first. Don’t leave gaps between boards and continue to ensure everything is square. The second and third row won’t go to the top of the posts; there should be 6 inches at the top.
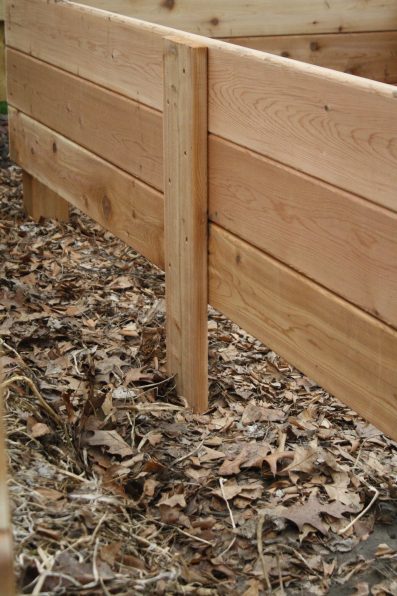
- Cut the last board so you have two sections 2 feet long. (You will have some extra.) Find the center of the long side of the planter and attach the small pieces to the side using the shorter screws. Use nine screws per side. Part of the short board will hang over the edge. This overhang will go into the ground. This board is support so the sides will stay now bow out when soil is added to the box.
- Move your new bed to the location of your choosing. If there is sod or grass currently growing you will need to dig it up or till it under so grass doesn’t grow in your bed.
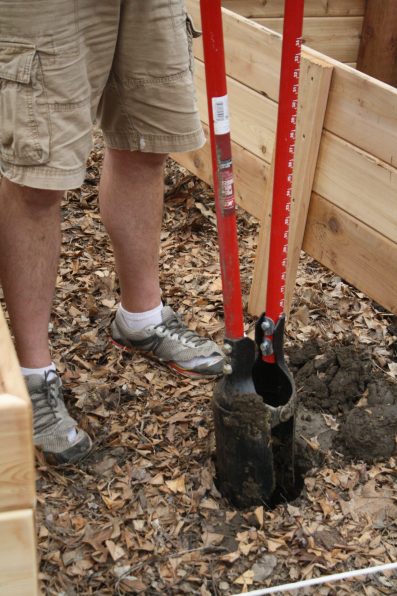
- Use a post-hole-digger or shovel to dig post holes 6 inches deep. The ends of the posts will rest in these holes so the beds will be stable and sturdy. Measure the diagonals of the garden bed and make sure they are the same and the garden bed is square. Be sure the garden bed is level on the ground with no gaps under the edges.
- Lay hardware cloth on the bottom of the bed to prevent animals from tunneling.
- Finally, fill with dirt and begin planting.


No Comments