Imagine your garden overflowing with vibrant salvias in full bloom, attracting pollinators and making your garden a lively, colorful haven. To achieve this, deadheading is crucial.
- Short Summary
- Understanding the Importance of Deadheading Salvias
- Essential Tools for Deadheading Salvias
- Step-by-Step Guide to Deadheading Salvias
- Post-Deadheading Care for Salvias
- Pruning and Trimming Salvias for Optimal Growth
- Common Mistakes to Avoid When Deadheading Salvias
- Summary
- Frequently Asked Questions
But what is deadheading, and how can it benefit your salvias? Let's dive into the world of “how to deadhead salvias” to ensure your garden is filled with blossoming salvias all season long.
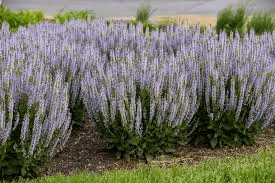
Short Summary
Deadhead salvia twice to three times a season for more blooms and better health.
Use sharp pruning shears to make clean cuts at the stem's highest set of leaves.
Follow post-deadheading care instructions, like mulching and deep watering every 7 days, for optimal growth!
Understanding the Importance of Deadheading Salvias
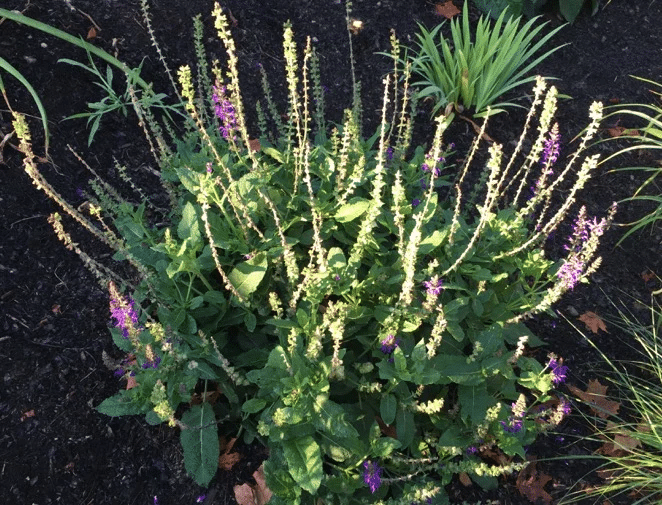
Deadheading salvias is essential for maximum bloom and improved appearance, regardless of the variety. The process involves removing spent flowers to encourage the plant to produce more flowers, helping your salvias stay looking their best.
With many salvias belonging to the mint family, they are popular for their pretty flowers and long bloom time. Deadheading can make a significant difference in keeping your salvias blooming for longer and looking their best.
Types of Salvias That Benefit from Deadheading
Deciduous herbaceous salvias, such as Salvia elegans, S. guaranitica, S. leucantha, S. waverley, S. ulignosa, and S. patens, benefit from deadheading. Deadheading these salvias promotes new growth and even more blooms. These types of salvias boast beautiful flowers, making them popular for bee and hummingbird gardens. Pollinators are especially attracted to the nectar-rich blossoms.
For Salvia nemorosa, a type of salvia with woody-based foliage, dark purple stems, and blue-violet flowers, deadheading is key to maintaining its appearance. This salvia is one of the easiest to grow and is often used for perennial garden borders.
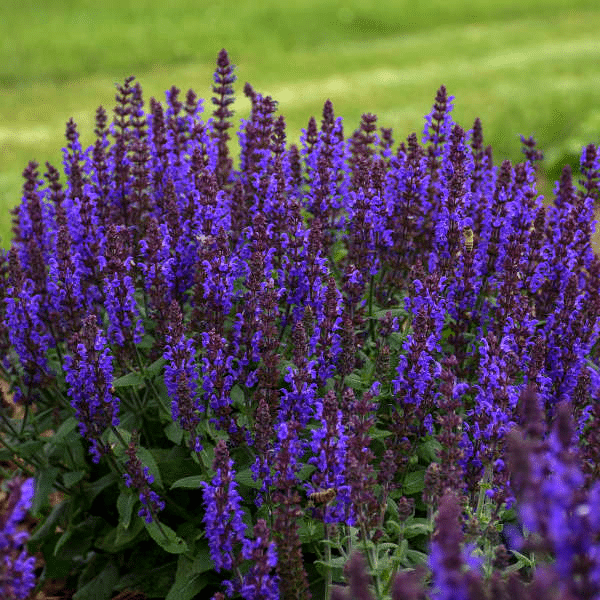
Late fall or early winter is the best time to give a big pruning to herbaceous salvias with woody stems. This helps keep them looking their best and encourages new blooms to emerge.
Essential Tools for Deadheading Salvias
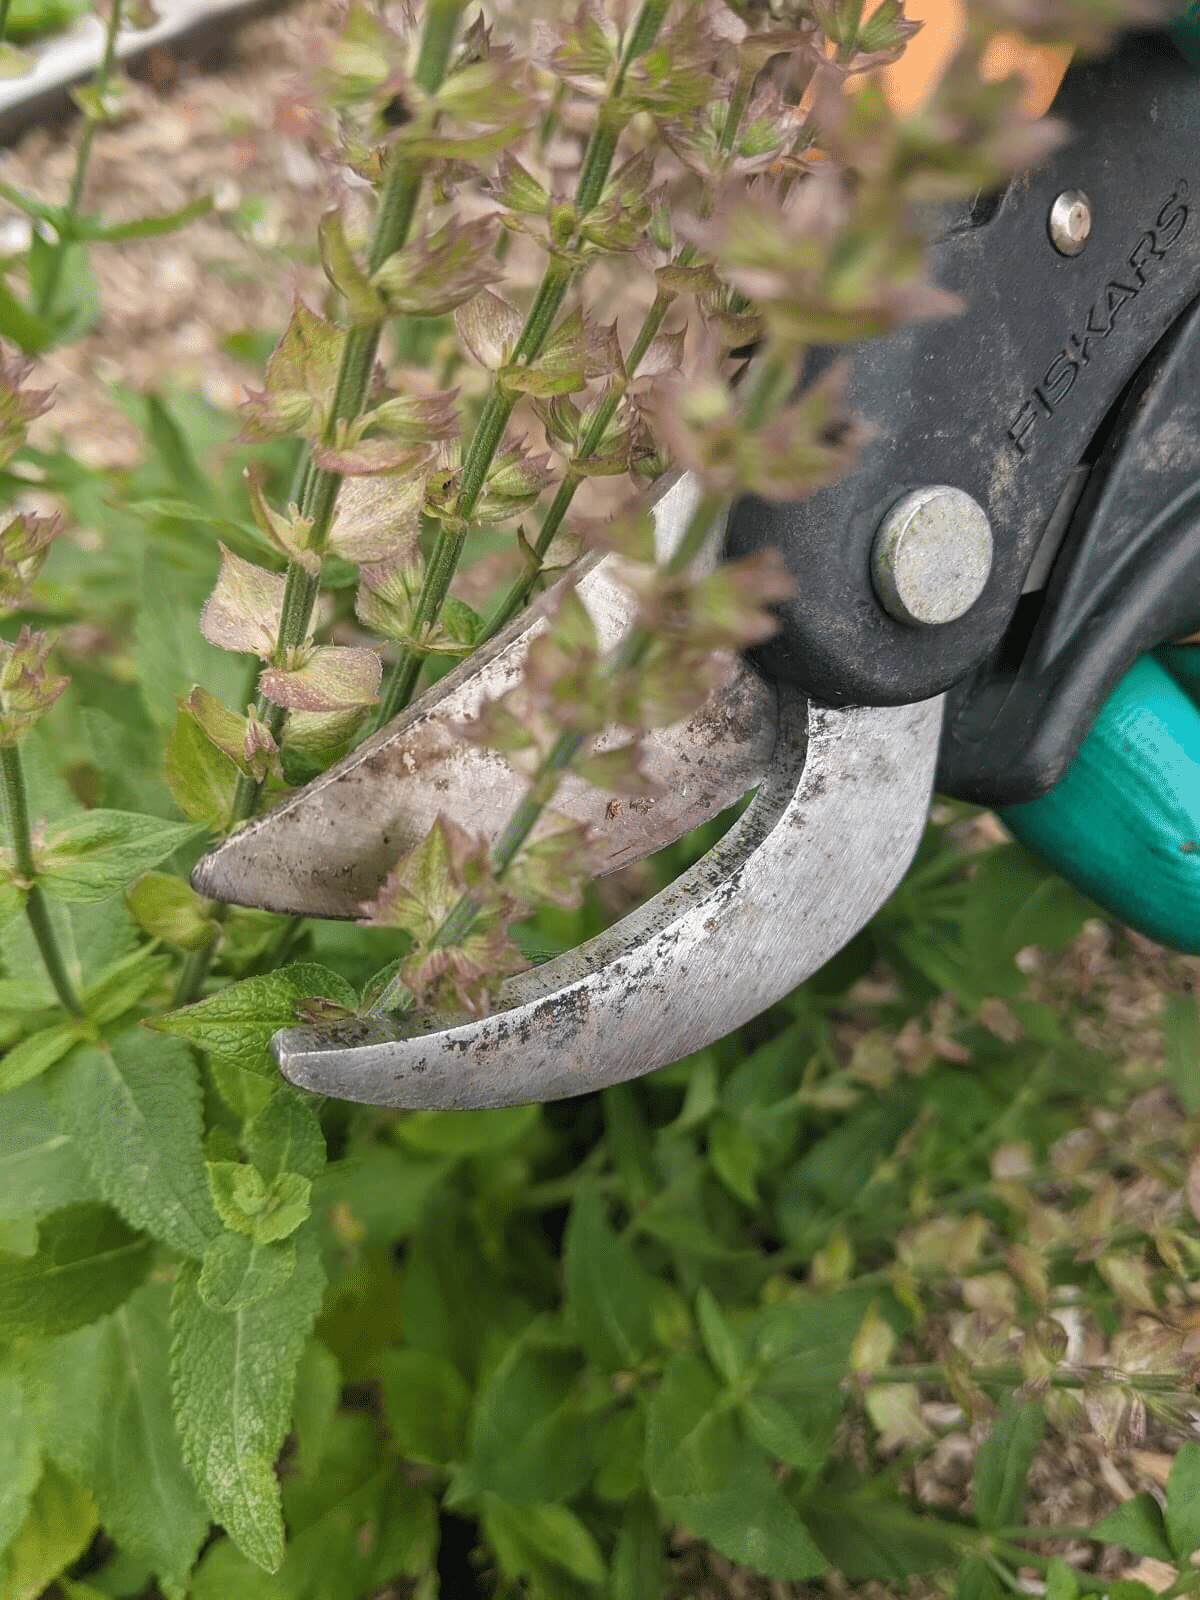
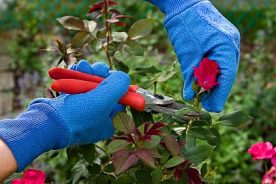
Before you begin the deadheading process, ensure you have clean and sharp pruning shears at the ready. This is essential for keeping your salvias looking and feeling their best, and helps make the process more efficient and precise.
A professional gardener would never attempt to deadhead salvias without the proper tools, and neither should you.
Step-by-Step Guide to Deadheading Salvias
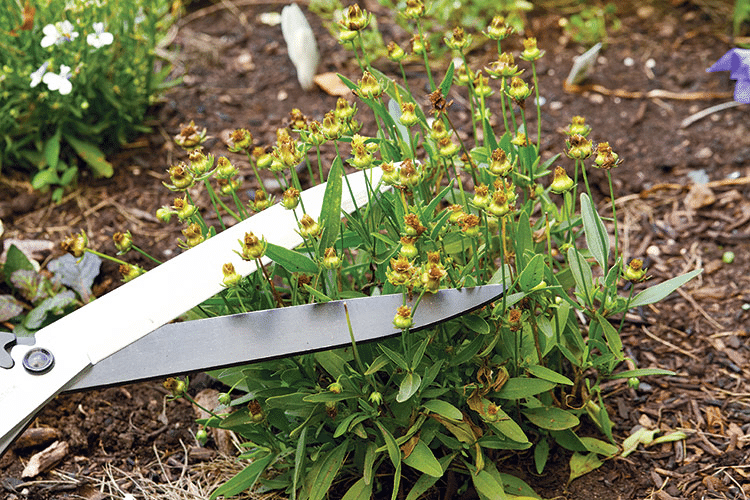
Deadheading salvias involves a step-by-step process that includes identifying the right timing, preparing your tools, identifying dead flowers, making proper cuts, and removing wilted flowers.
To help you do this effectively, let's break down each step in detail.
When to Deadhead Salvias
Timing is crucial when it comes to deadheading salvias. If you deadhead them before they start to fade and brown, they'll only give you a few weeks of blooms.
However, if you wait until they fade, you'll enjoy twice as many blooms or more. It's recommended to deadhead your salvia two to three times a season.
Keep an eye on your salvias and watch for signs that they need deadheading. When the flowers start to turn brown and fade, and the small clusters of flowers begin to drop off, it's time to deadhead.
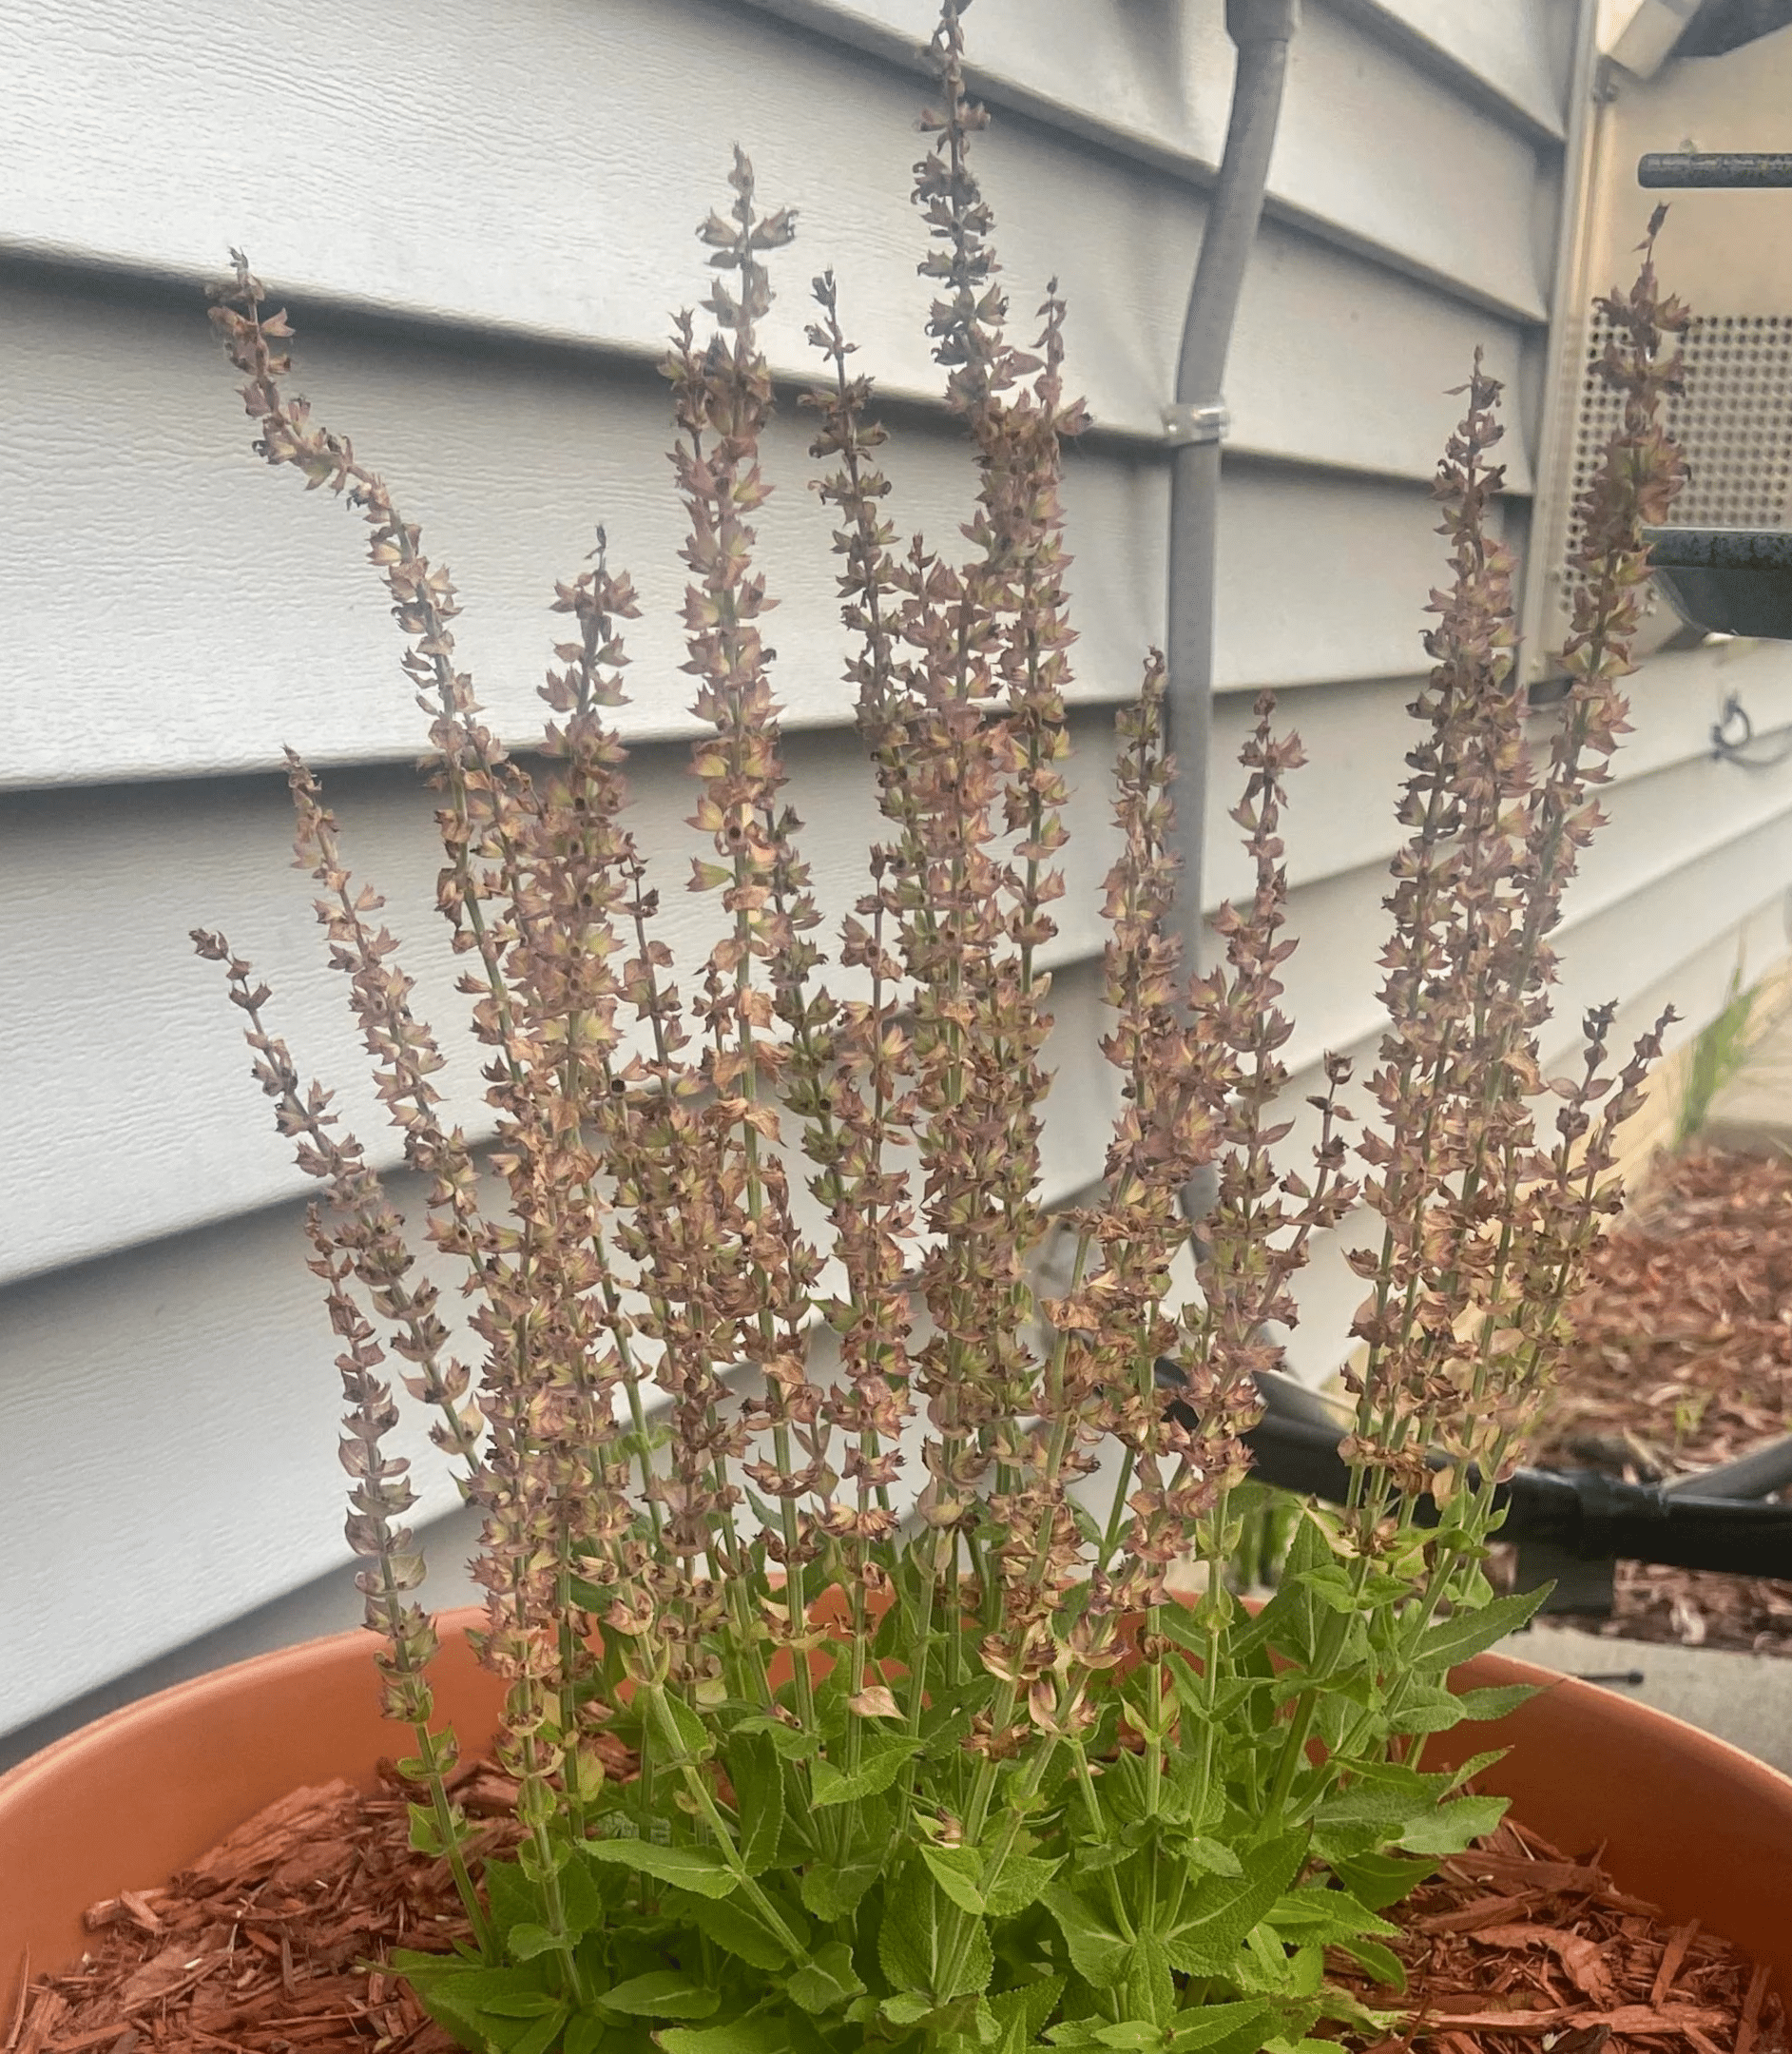
Right before winter arrives, it's also a good time to deadhead your salvias. This helps prepare them for the colder months and ensures they come back strong when the growing season begins again.
How to Make Proper Cuts
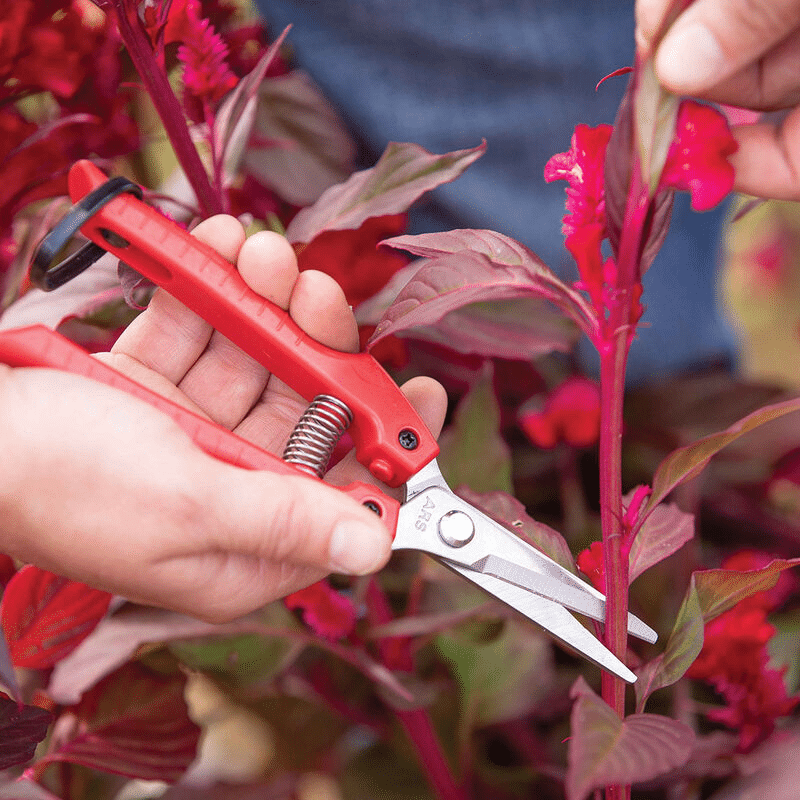
When deadheading salvias, it's important to cut precisely and with care. Using sharp pruning shears is essential for making clean cuts that promote new growth and minimize damage to the plant. Dull shears can cause more harm than good and take much longer to prune.
To make proper cuts, locate the spot where the stem meets the highest set of leaves on the plant. Use your sharp pruning shears to cut off or pinch off the entire stalk.
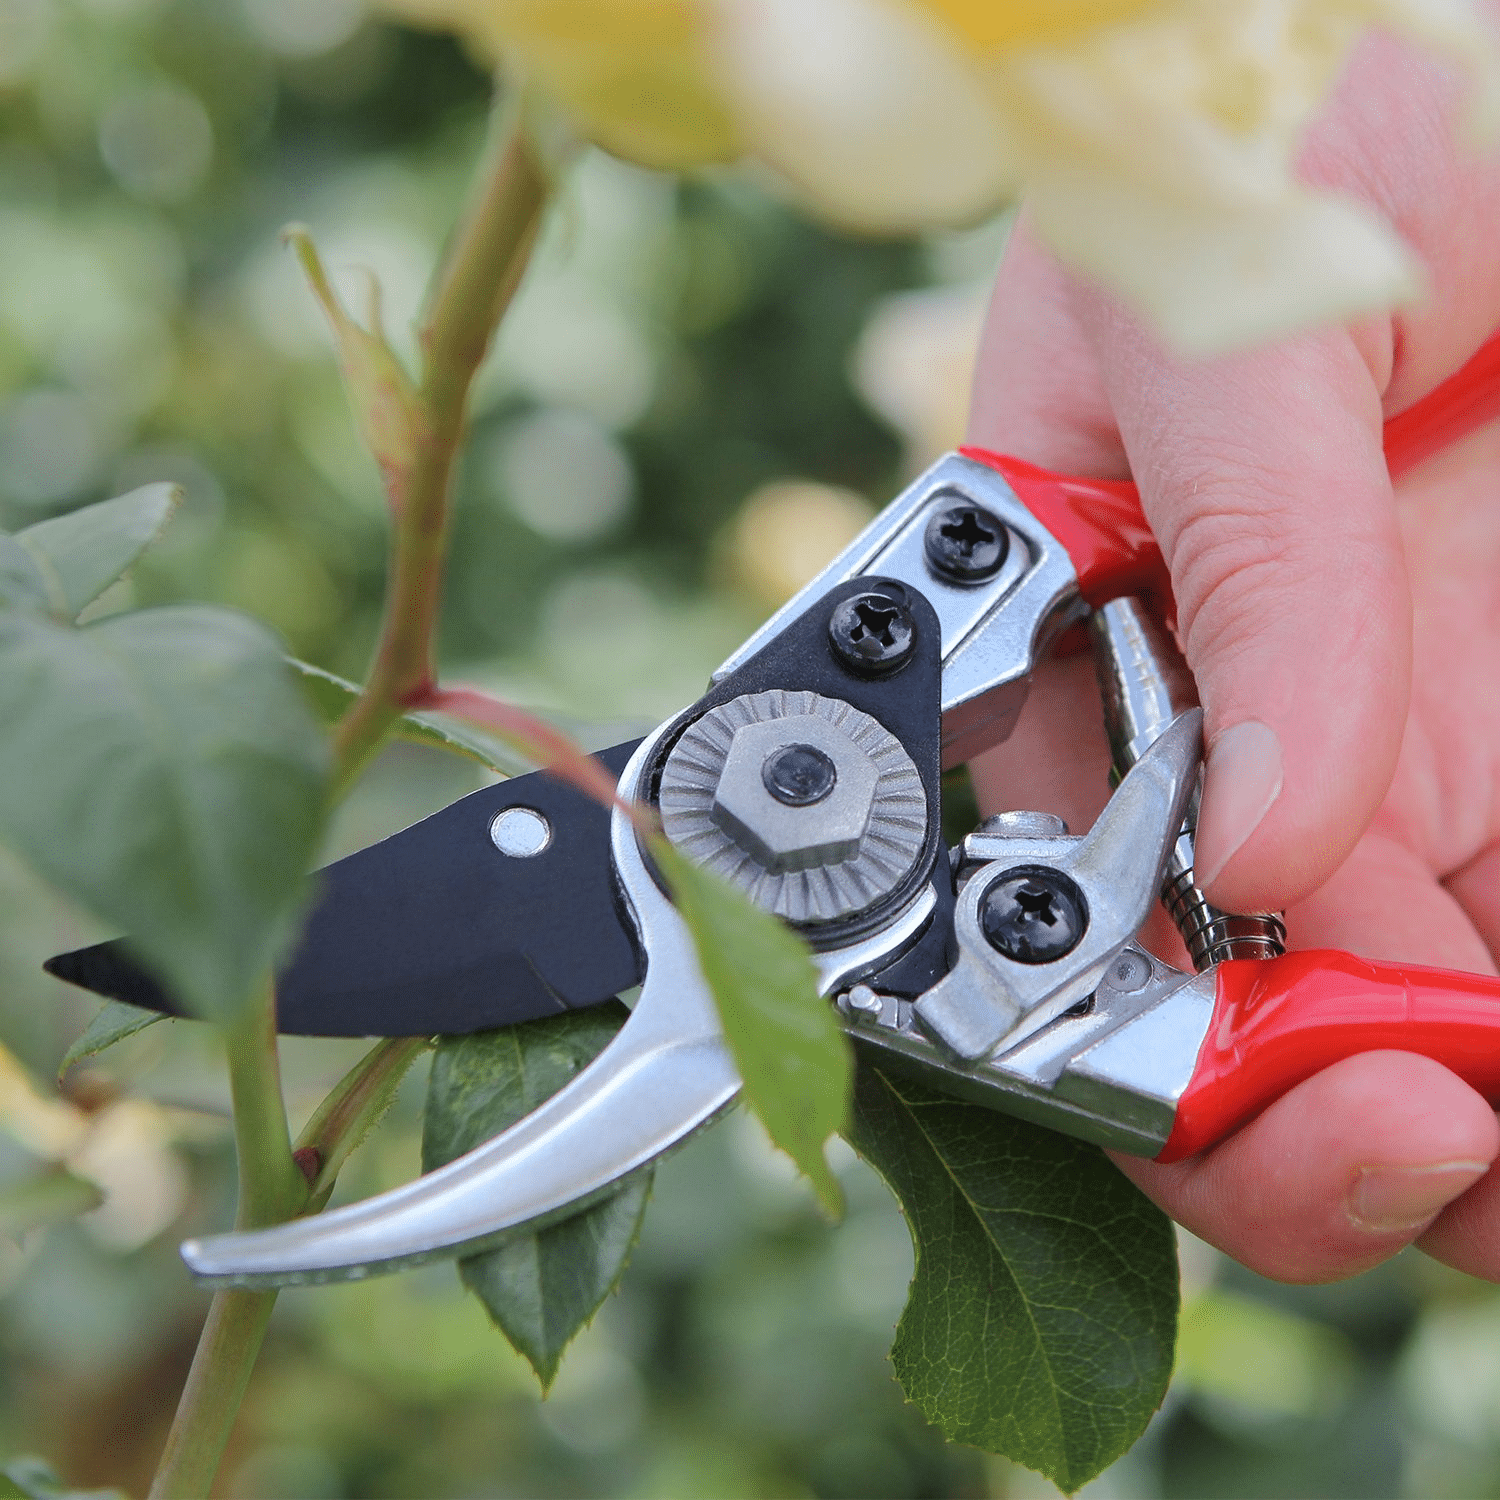
Once you've snipped off the stalk, give the spot a little extra TLC to encourage new growth.
Tips for Successful Deadheading
To ensure successful deadheading, follow these valuable tips: Remove the flower stem right below the spent flower and above the next set of healthy leaves. Do this as soon as the flower fades, and for plants with multiple blooms, wait until 70 percent of the blooms have faded.
After deadheading, give your salvias a good watering to ensure they have enough moisture to help them grow. This will keep them looking their best and encourage new blooms to emerge.
Lastly, if you're unsure about any steps in the deadheading process, don't hesitate to consult a professional gardener or experienced friend for guidance. They can offer valuable advice to help you get the most out of your salvias.
Post-Deadheading Care for Salvias
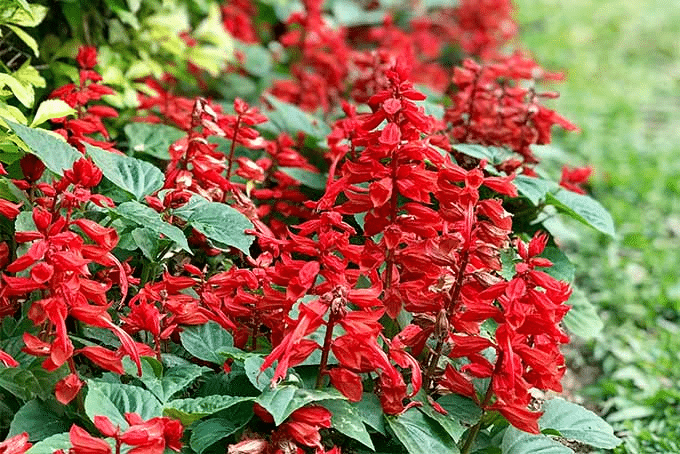
Once you've deadheaded your salvias, it's essential to provide them with proper care to ensure they continue to thrive. Deep watering, mulching, and providing afternoon shade (depending on the climate) are all important aspects of post-deadheading care.
Water your salvia every seven days. Let the soil dry out completely before you water again. This helps prevent overwatering and ensures they receive adequate moisture to grow healthy and strong.
Pruning and Trimming Salvias for Optimal Growth
Pruning and trimming your salvias annually in late fall and early summer is essential for optimal growth and controlling the plant's shape. Pruning back heavily in spring and fall helps maintain the overall shape and health of the plant, while light pruning during summer encourages beautiful repeat blooms.
When pruning, you can safely remove up to one-third of the plant's foliage. This will stimulate new growth and help maintain the desired shape of your salvias.
Common Mistakes to Avoid When Deadheading Salvias
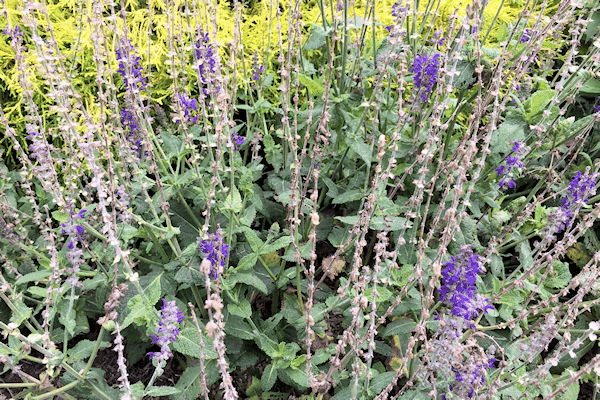
When deadheading salvias, it's important to avoid common mistakes that can hinder the health and appearance of your plants. Cutting too early, not making proper cuts, and not removing wilted flowers are all mistakes that can negatively impact your salvias.
To ensure successful deadheading, follow the tips and guidelines provided in this blog post. And always remember that consulting a professional gardener or experienced friend can provide valuable insights and help you avoid first-time mistakes.
Summary
In conclusion, deadheading salvias is an essential practice for maintaining a vibrant, thriving garden. By understanding the importance of deadheading, using the right tools, and following a step-by-step guide, you can keep your salvias blooming beautifully all season long.
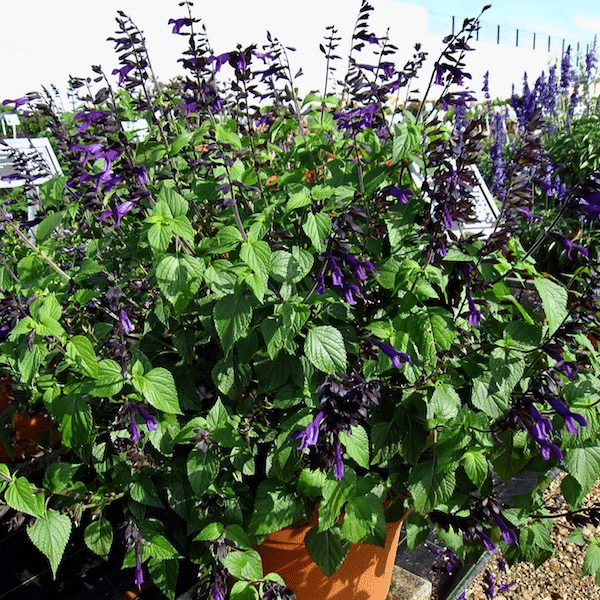
Remember to also provide proper post-deadheading care, prune and trim your salvias for optimal growth, and avoid common mistakes. With these tips and guidelines, your garden will be filled with stunning salvias that will be the envy of your neighbors. Happy gardening!
Frequently Asked Questions
What do you do with salvias when they have finished flowering?
With perennial Salvias, it's important to deadhead spent blooms regularly to keep them flowering and looking their best.
To help ensure multiple blooms in a season, remove the old flowers after each flowering cycle. This will help promote continuous flower growth and keep your Salvias looking great all season long.
When should salvias be cut back?
When it comes to pruning salvias, the best time of year is late spring. Cut the plants back to quite low down on the plant above the fresh shoots that are appearing.
Then in mid-July trim lightly again to control their size and encourage a new flush of flowers.
How to deadhead flowers?
Deadheading flowers is an important and easy way to promote blooming. To deadhead a plant, simply pinch or cut off the flower stem just below the spent flower, and above the first set of healthy leaves.
Repeat with all the dead flowers on the plant for best results.


No Comments